Create Workspace using Default Settings
 This procedure will detail how to
create a new workspace using "Out of the Box" settings from the sample
workspace included with the
OpenPlant Project Administrator install.
This procedure will detail how to
create a new workspace using "Out of the Box" settings from the sample
workspace included with the
OpenPlant Project Administrator install.
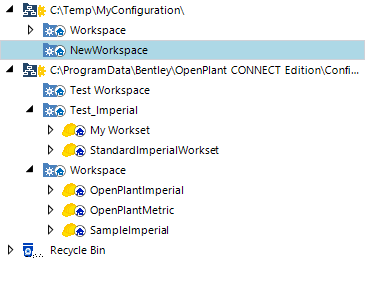
The workspace will be created in the Configuration selected in the Navigation Tree.
- In the Navigation Tree, select the Configuration where the workspace will be created.
-
Click the
Configuration Ribbon and select the
Create
icon from the
Workspace
tool group.
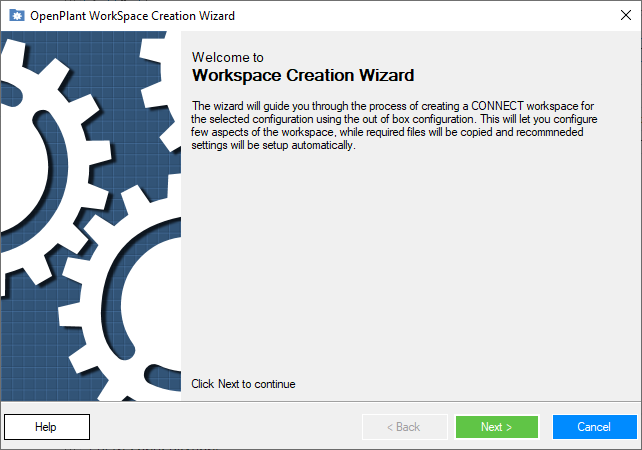
This launches the OpenPlant WorkSpace Creation Wizard.
- Click Next to continue.
- Specify a name for the workspace. where you want to create the new workspace. This path can be of local disk or network location as shown.
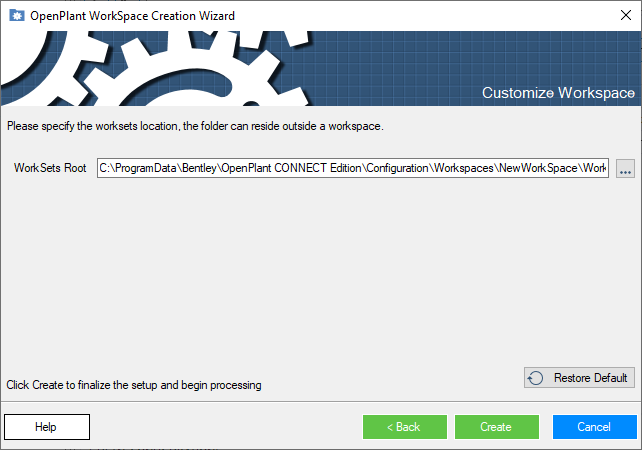
- Click Next to specify the WorkSets root directory: A default directory path is provided which places the WorkSets directory in the WorkSpace root directory. This can be changed to specify a WorkSets directory that is outside of the configuration or on a network drive.
-
Click
Next to start the creation of the new
workspace.
The creation process will start and the progress will be displayed in the Creation Progress bar.
Once the process is completed; the workspace creation status displays as shown. - Click Finish to close the workspace creation wizard.